How to Prepare Your Design File for Screen Printing
Your design file is like the blueprint for your screen printing project. Make sure it's set up for success.
Your design file is like the blueprint for your screen printing project. So, you want to ensure it’s set up for success. Even if you are working with our team to accomplish your final design, there will likely be elements you will need to provide us. For example, you may need to provide a logo file or other branding graphic elements. Don’t stress, we’ve got you covered with the tips and tricks to prepare the perfect design file for your next screen printing project.
One important step you need to take to prepare your design file for screen printing is embedding any images that are used in the artwork. This includes any source files in your design including elements such as images and textures. In order to ensure we can see your amazing design, you need to ensure your images are part of the final design. Here’s Adobe’s rundown on importing artwork files and how to properly link and embed images.
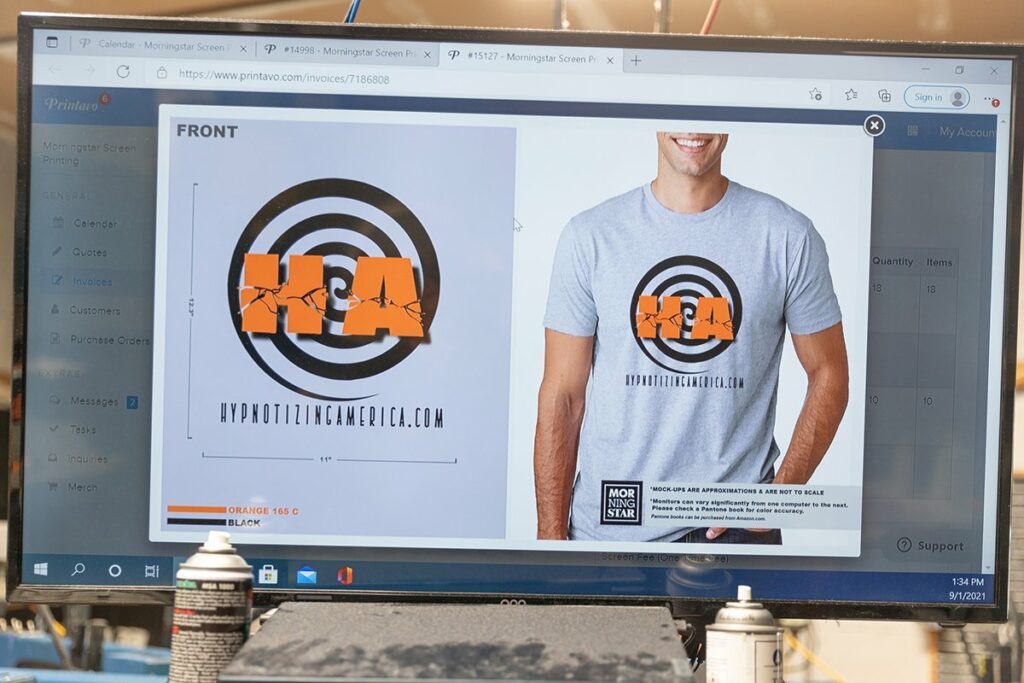
Once the font is selected and the text is proofed, the last step to finalizing any text in your design file is to convert text to outlines. If you do not take this step, the correct font may not appear in Illustrator. This means we will not be able to accurately mockup or print your design. If you need a tutorial on how to convert text to outlines, check out this guide.
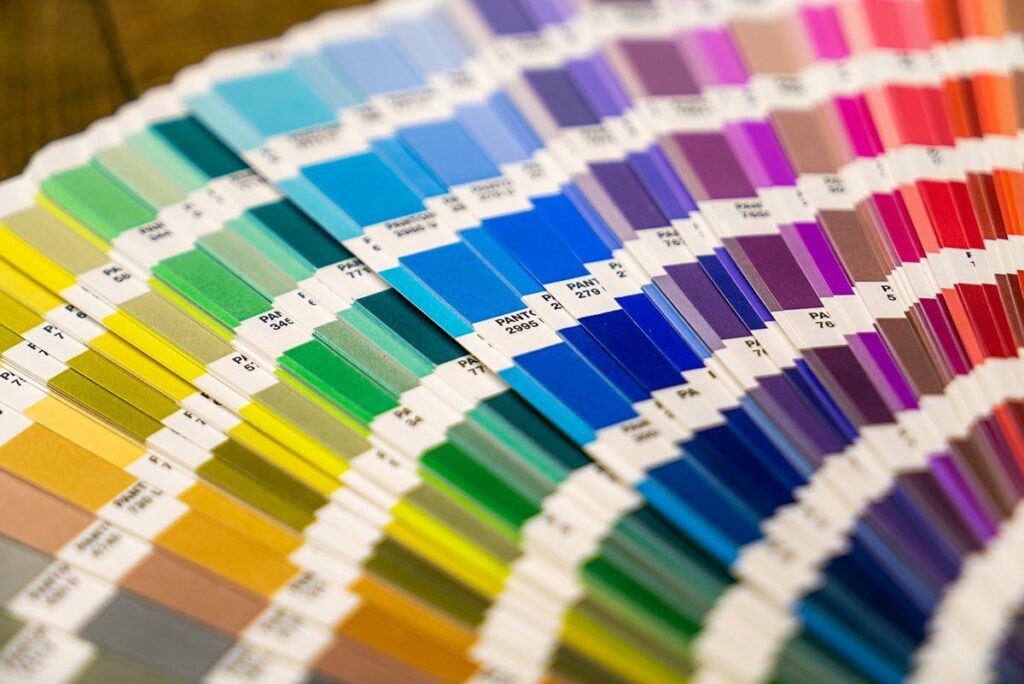
Make sure your true colors shine by selecting Pantone colors for your design from a PMS book. This universal color pallet ensures that the color you want is the color you will get in the screen printing process. This ensures we are on the same page throughout the process when it comes to the colors you want in your final design.
Another important step you should take in order to properly prepare your design file is to make sure the layout and composition allow for enough negative space. Specifically, in between the individual elements of your design. If the space around the design elements is too small, it is possible that the ink could bleed together and distort the design. Ensure any negative space between elements is at least 1.5pt.
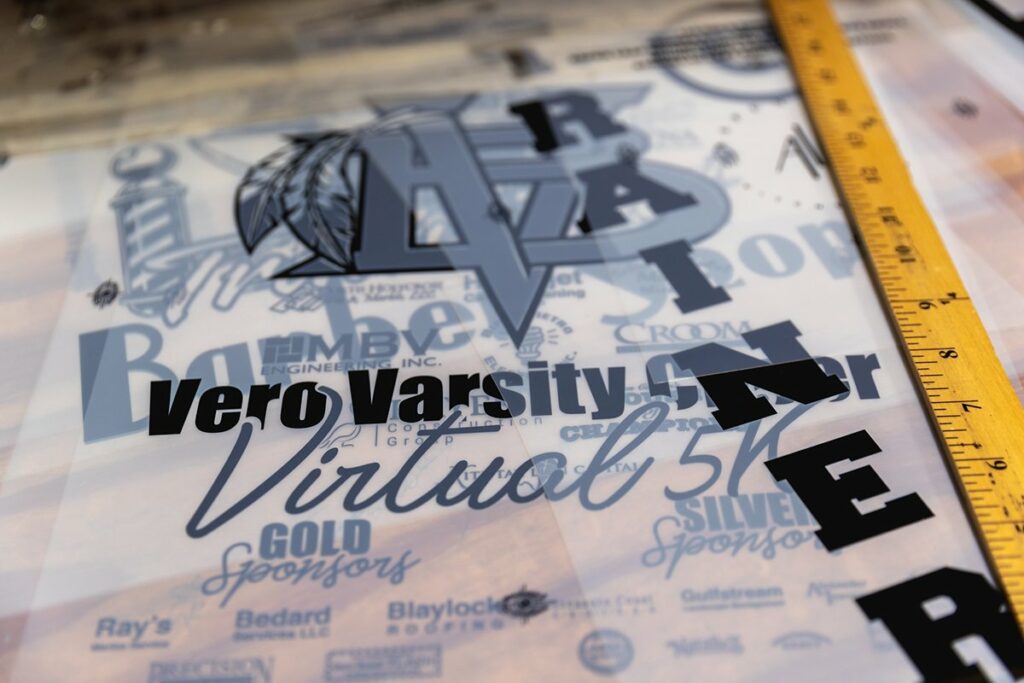
Words are only useful if you can read them. To make sure all of the text in your design is legible it should be no smaller than 6pt.
Files should be vector form. We prefer EPS, AI or PDF. If you don’t have a vector file, we recommend 300dpi or larger in one of the following formats PSD, TIF, or JPG.
If all of that sounds like gibberish to you, click here to talk to one of our t-shirt pros to help you get started.